Security should be an integral part of any development project. Each API request should come with some sort authentication credentials which must be validated on the server for each and every request.
The OAuth 2.0 authorization framework enables a third-party application to obtain limited access to an HTTP service, either on behalf of a resource owner by orchestrating an approval interaction between the resource owner and the HTTP service, or by allowing the third-party application to obtain access on its own behalf.
Steps
In this example we will protect our API using Identity Server with Client Credentials authorization flow, this is a client-to-client authorization and does not involve user context. The main steps behind this are:
- register a client (who is going to access the api)
- register an api resource (what is the client going to access)
- from the client app – call the token end point to exchange the secret for the authorizaztion token
- from the client app – call the api and access and endpoint using the token as the Bearer authorization token in the request
A. Setting up the Identity Server.
Like in our previous examples, the Identity Server can be set up quicly (thank you Microsoft) by defining a web api project (I am using .NET Core 3)
From nuget package manager we need to add the Identity Server 4 package:
B. Adding clients and resources
In this example I am adding clients and resources in memory, since this is only for learning purposes. In production you should add a client and resource store, and I am going to show you how to do this in a later article.
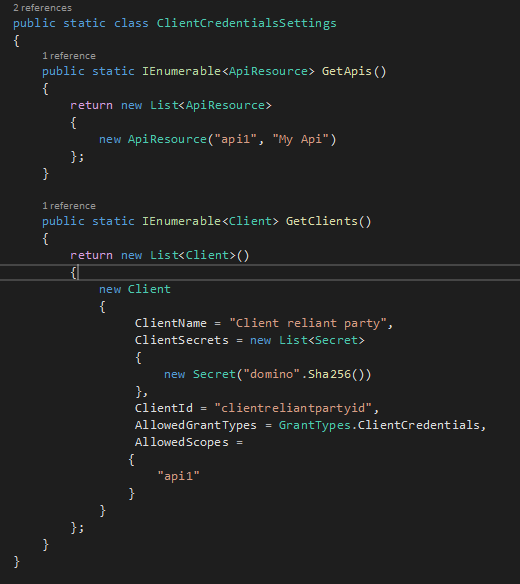
For the moment I have defined a static class file with our information:
You can see that the client here has an Id and a secret, the client app will need to have these values to be able to get the token from the token end point. Our api has to define a scope, and the scope here will represent the audience that the client app will access (you will see later on). For now we defiend the api resource called “api1” and registered it in the Allowed Scopes.
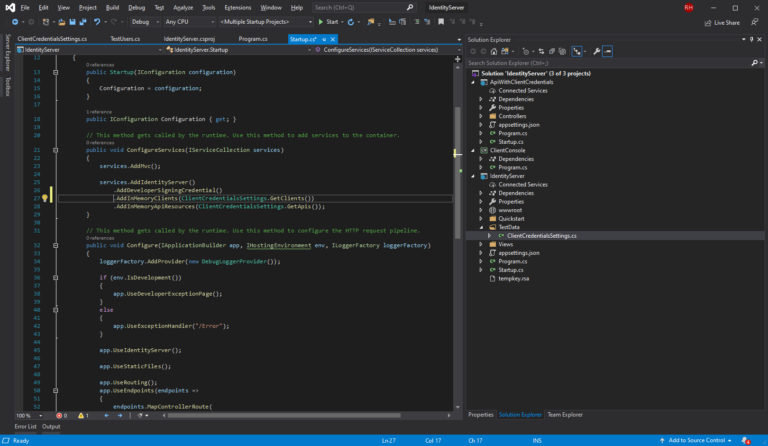
Adding the client and api resource:
C. The client project
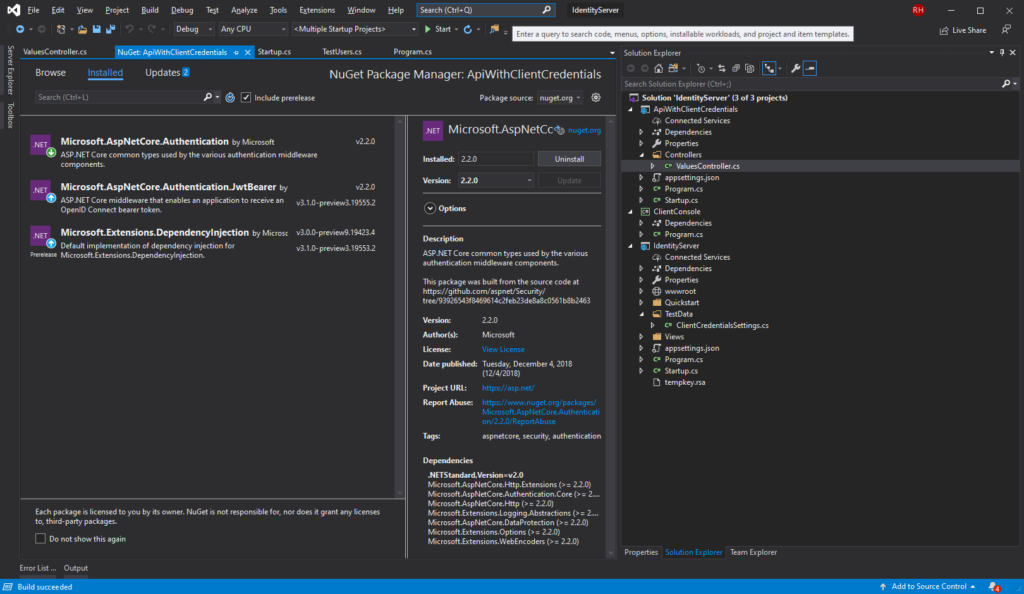
To test our api we defined another web api project.
As you can see, I added the Authentication and JwtBearer dependencies. This has some built-in functionality out of the box.
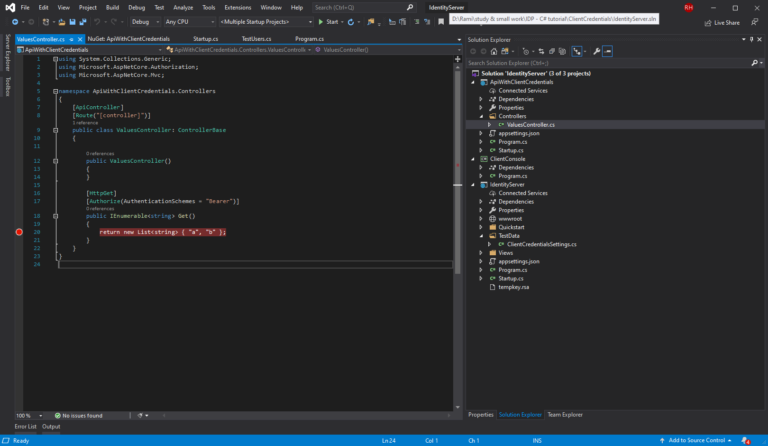
To protect our api we need to use the Authorize attribute and describe the schema:
And now in the start up file of our consuming client, we need to specify that we want t0 authorize our application using the JwtBearer scheme (Client Credentials flow). Here you can see that we will provide the audience “api1” (the api resource this belongs to) and the authority (the IdentityServer EndPoint)
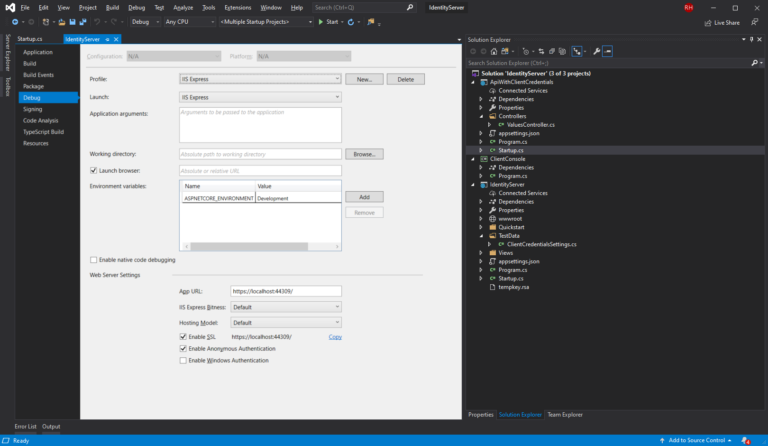
If you see the properties of our identity server, you can see that the local uri it uses it’s the authority we passed in the consuming app:
D. Testing using a console app
In this part, we will try to access the api of our consuming app, that is protected using oauth2. From the console app we need to
- get the token end point location from the identity server uri
- exchange the client id and secret for a token from the Identity Server Token Endpoint
- send a request to our consuming api with the bearer token as the Authorization Header
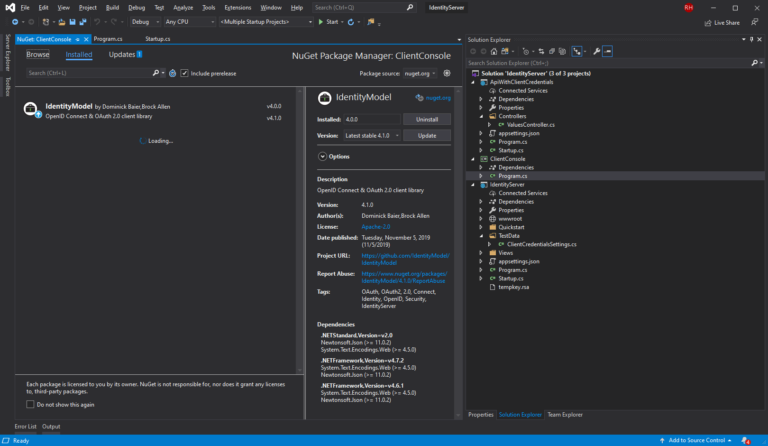
We can make all the requests manually using the HttpClient and adding headers and body as needed, or we can use another handy package called IdentityModel (which does this for us)
I have written all the above steps in one method, it’s pretty easy to follow and I will not describe it more then the code does:


